Endurance Onslaught 6.0
Original Post
[IMG]My First Rendered Animation!
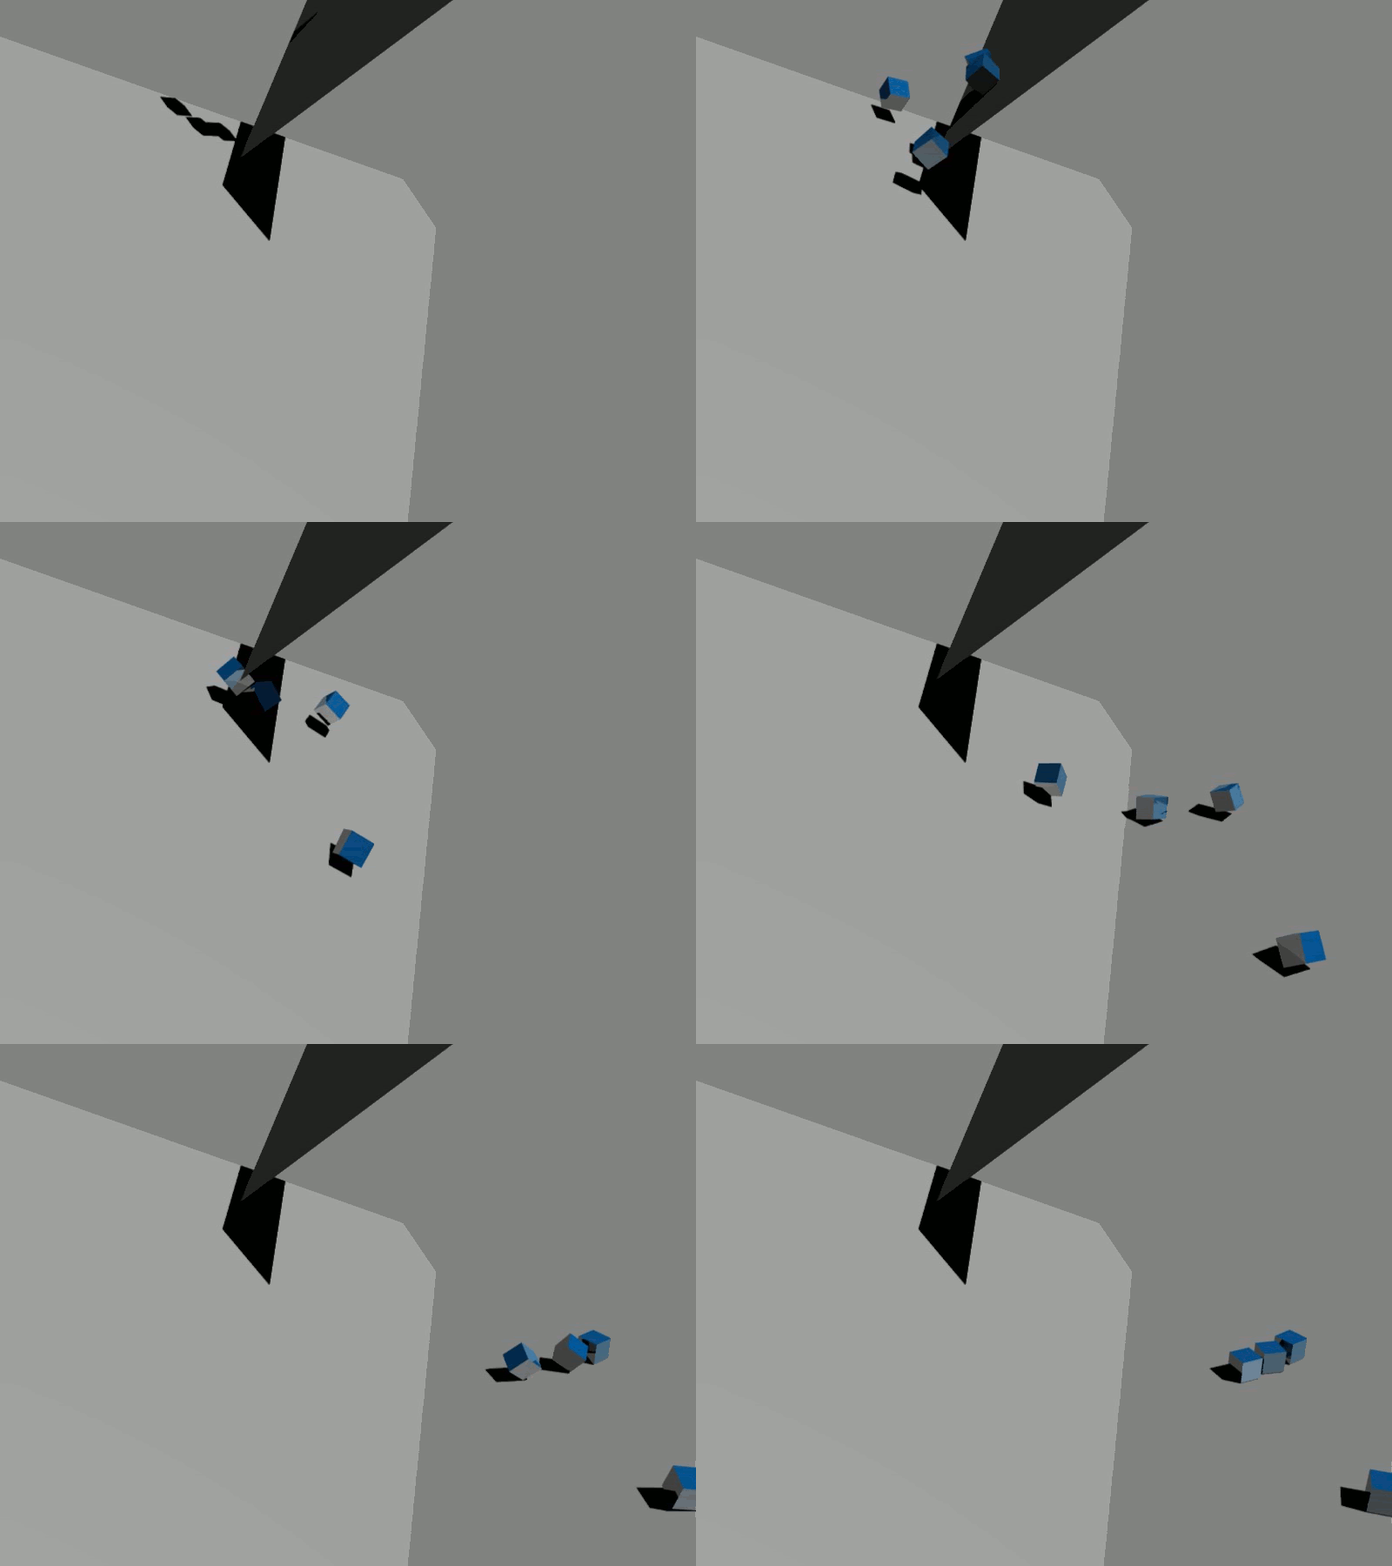

my first rendered animation in blender.

4 blue cubes with softbody falling down a ramp.


took 2-3 hours to render, 3-10 minutes to bake, and half an hour to figure out the right settings for the .gif frame rate.


C&C wanted.
Very nice,trough you should scale it,it takes some time till it runs faster.
nice render for the first 9/10
Centuries Of Damn
GAH

learn to move the camera.

Hint, it can be moved like any other object.

Hint, make it a parent of one of the cubes, and it will move with them.

Hint, to parent select the child, then shift select the parent and press CTRL+P and hey presto! done!
When I see you, my heart goes DOKI⑨DOKI
Fish: "Gorman has been chosen for admin. After a lengthy discussion we've all decided that Gorman is the best choice for the next admin."
Originally Posted by Pate5 View Post
Animation is nice, but lighting sucks really.

yeah, I realize that.

@ gorman, I dont know how to control objects though, to make them move through the air on their own.
Ok man, this is what you do:

Right click the camera, move it so that you can see one cube in the center of the screen pretty well.

Then hold shift and rightclick the cube that is in the center of the screen.

Now press CTRL+P, which will set the cube as the camera's parent. So as the cube moves the camera will keep it centered.


Last time I forgot to mention that its pretty cool
When I see you, my heart goes DOKI⑨DOKI
Fish: "Gorman has been chosen for admin. After a lengthy discussion we've all decided that Gorman is the best choice for the next admin."
mkay

ill explain as best i can with a mini-tutorial.

1) Start a new document, and select the cube with right click.
In the bottom left of the 3D window area you will see the Y/X axis thingy, and next to it will be a (1) Cube.
The (1) is the current frame, and the Cube is the name of the cube. (as you probably already know)

2) Click the 'I' key whille your mouse is in the 3D window area.
The will insert a Keyframe. Key frames are points in animations where you set where/what the object should be/be doing. Loc = location, Rot = rotation, Scale = scale.
Select LocRotScale, and it will make all 3 of these atributes.
Notice that the (1) Cube is now yellow, to show that this is a keyframe.

3) Now go down to your bottem panel, which should be 'buttons', and change the window type to IPO curve editor (it should be a funny graph thing near the bottem of the list. You should now see some coloured lines, so just have a look at the graph so you can understand it. Each line is an attribute.

4) Press the up arrow once, this will skip forward 10 frames, then click the right arrow 4 times, which will skip forward 4 frames. You should now be on frame 15.

5) Move the cube around, change its scale, and rotation. Then click the I key and select LocRotScale to save the attributes. You could save each one induvidually, but that is a bit silly.

6) Skip forward another 35 frames to frame 50, then change all the settings back to what they were in frame 1 (Loc = 0, Scale = 1). But change the RotX,Y,Z all to 360.

7) Hit the I key again, and save the LocRotScale.

8) Now change the IPO curve window back to buttons type, Click F10 to go to scene. Now change the frame size to 200x200, and change the End frame in Anim panel to 50.
*At this point you may want to change the camera to a better position, so you can see the cube better.*

Now render the whole thing, animate it, and post it!

Here's one i made earlier:
Last edited by Gorman; Feb 25, 2009 at 07:15 AM.
When I see you, my heart goes DOKI⑨DOKI
Fish: "Gorman has been chosen for admin. After a lengthy discussion we've all decided that Gorman is the best choice for the next admin."
C4D looks better if you want looks but animation works really well on real flow i really hate blender so i cant really judge it cause im bias